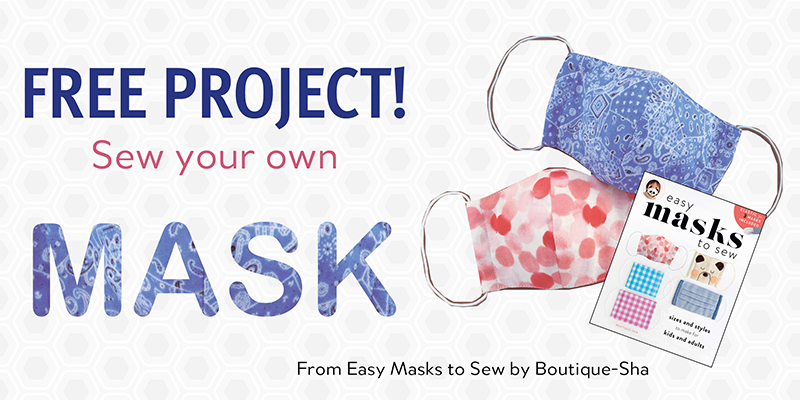
With the new government rules on wearing face coverings in shops now in place, you have probably seen plenty of colourful masks on your local high street or in the supermarkets.
If you are out and about a lot, you may find that you will need several masks to make sure that one is available while the others are in the wash, so what better time to get creative and sew your own personalized face covering, with the help of the lovely people at World Book Media!
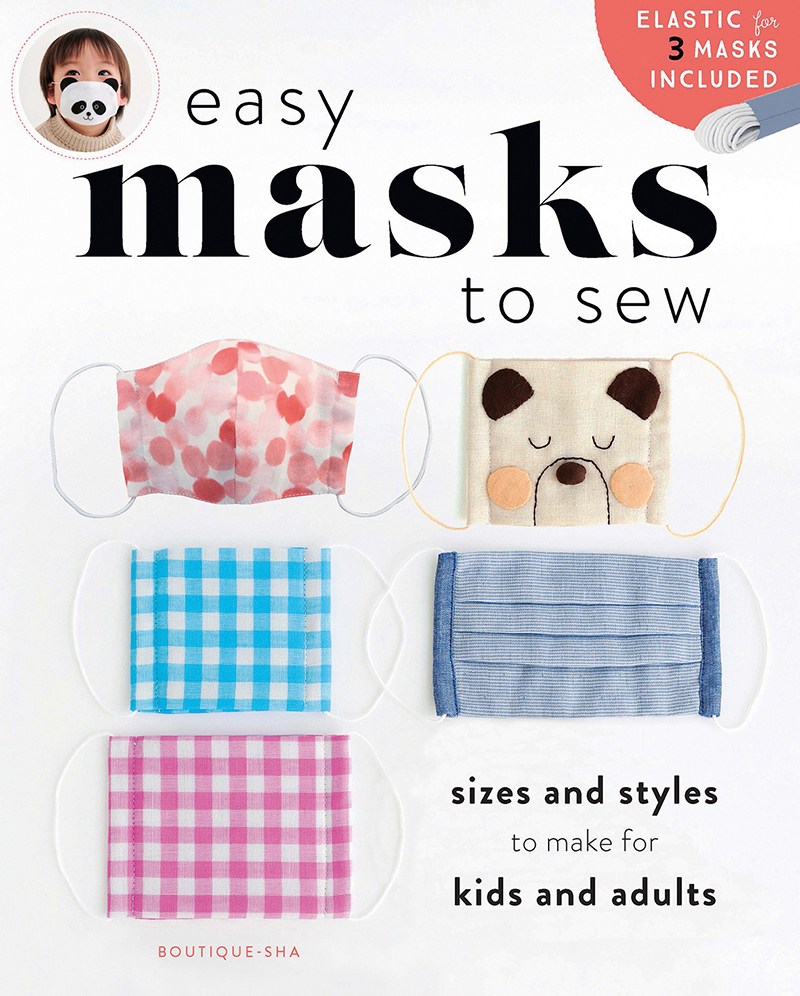
Below is a fabulous extract from their new book Easy Masks to Sew showing how to make a medium-size contoured face covering. Choose some colourful material and get stitching!
This three-dimensional mask style moulds to the shape of your face and is comfortable to wear. Don’t be intimidated by the convex shape – it’s easier to sew than it looks.
How to Sew Your Own Face Mask
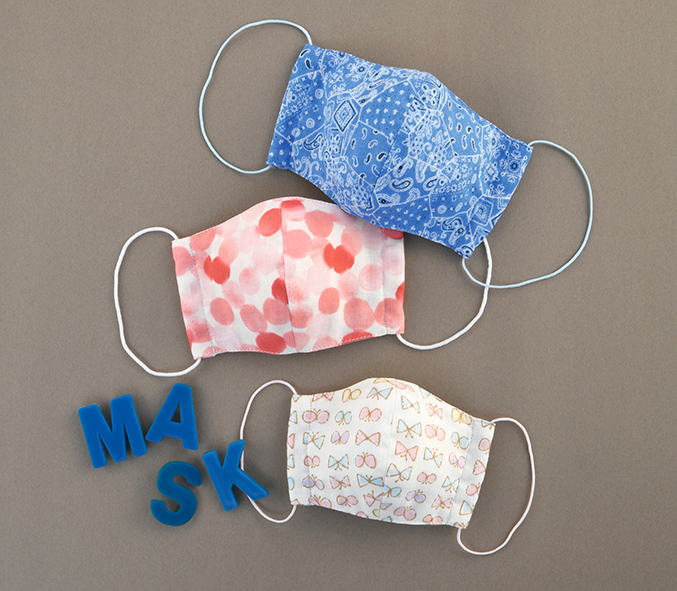
Materials:
Fabric – 16 x 10 inches (41 x 25cm)
Elastic – 24 inches (60cm)
Finished size – 8 x 5 1/4 inches (20 x 13cm)
Cutting directions:
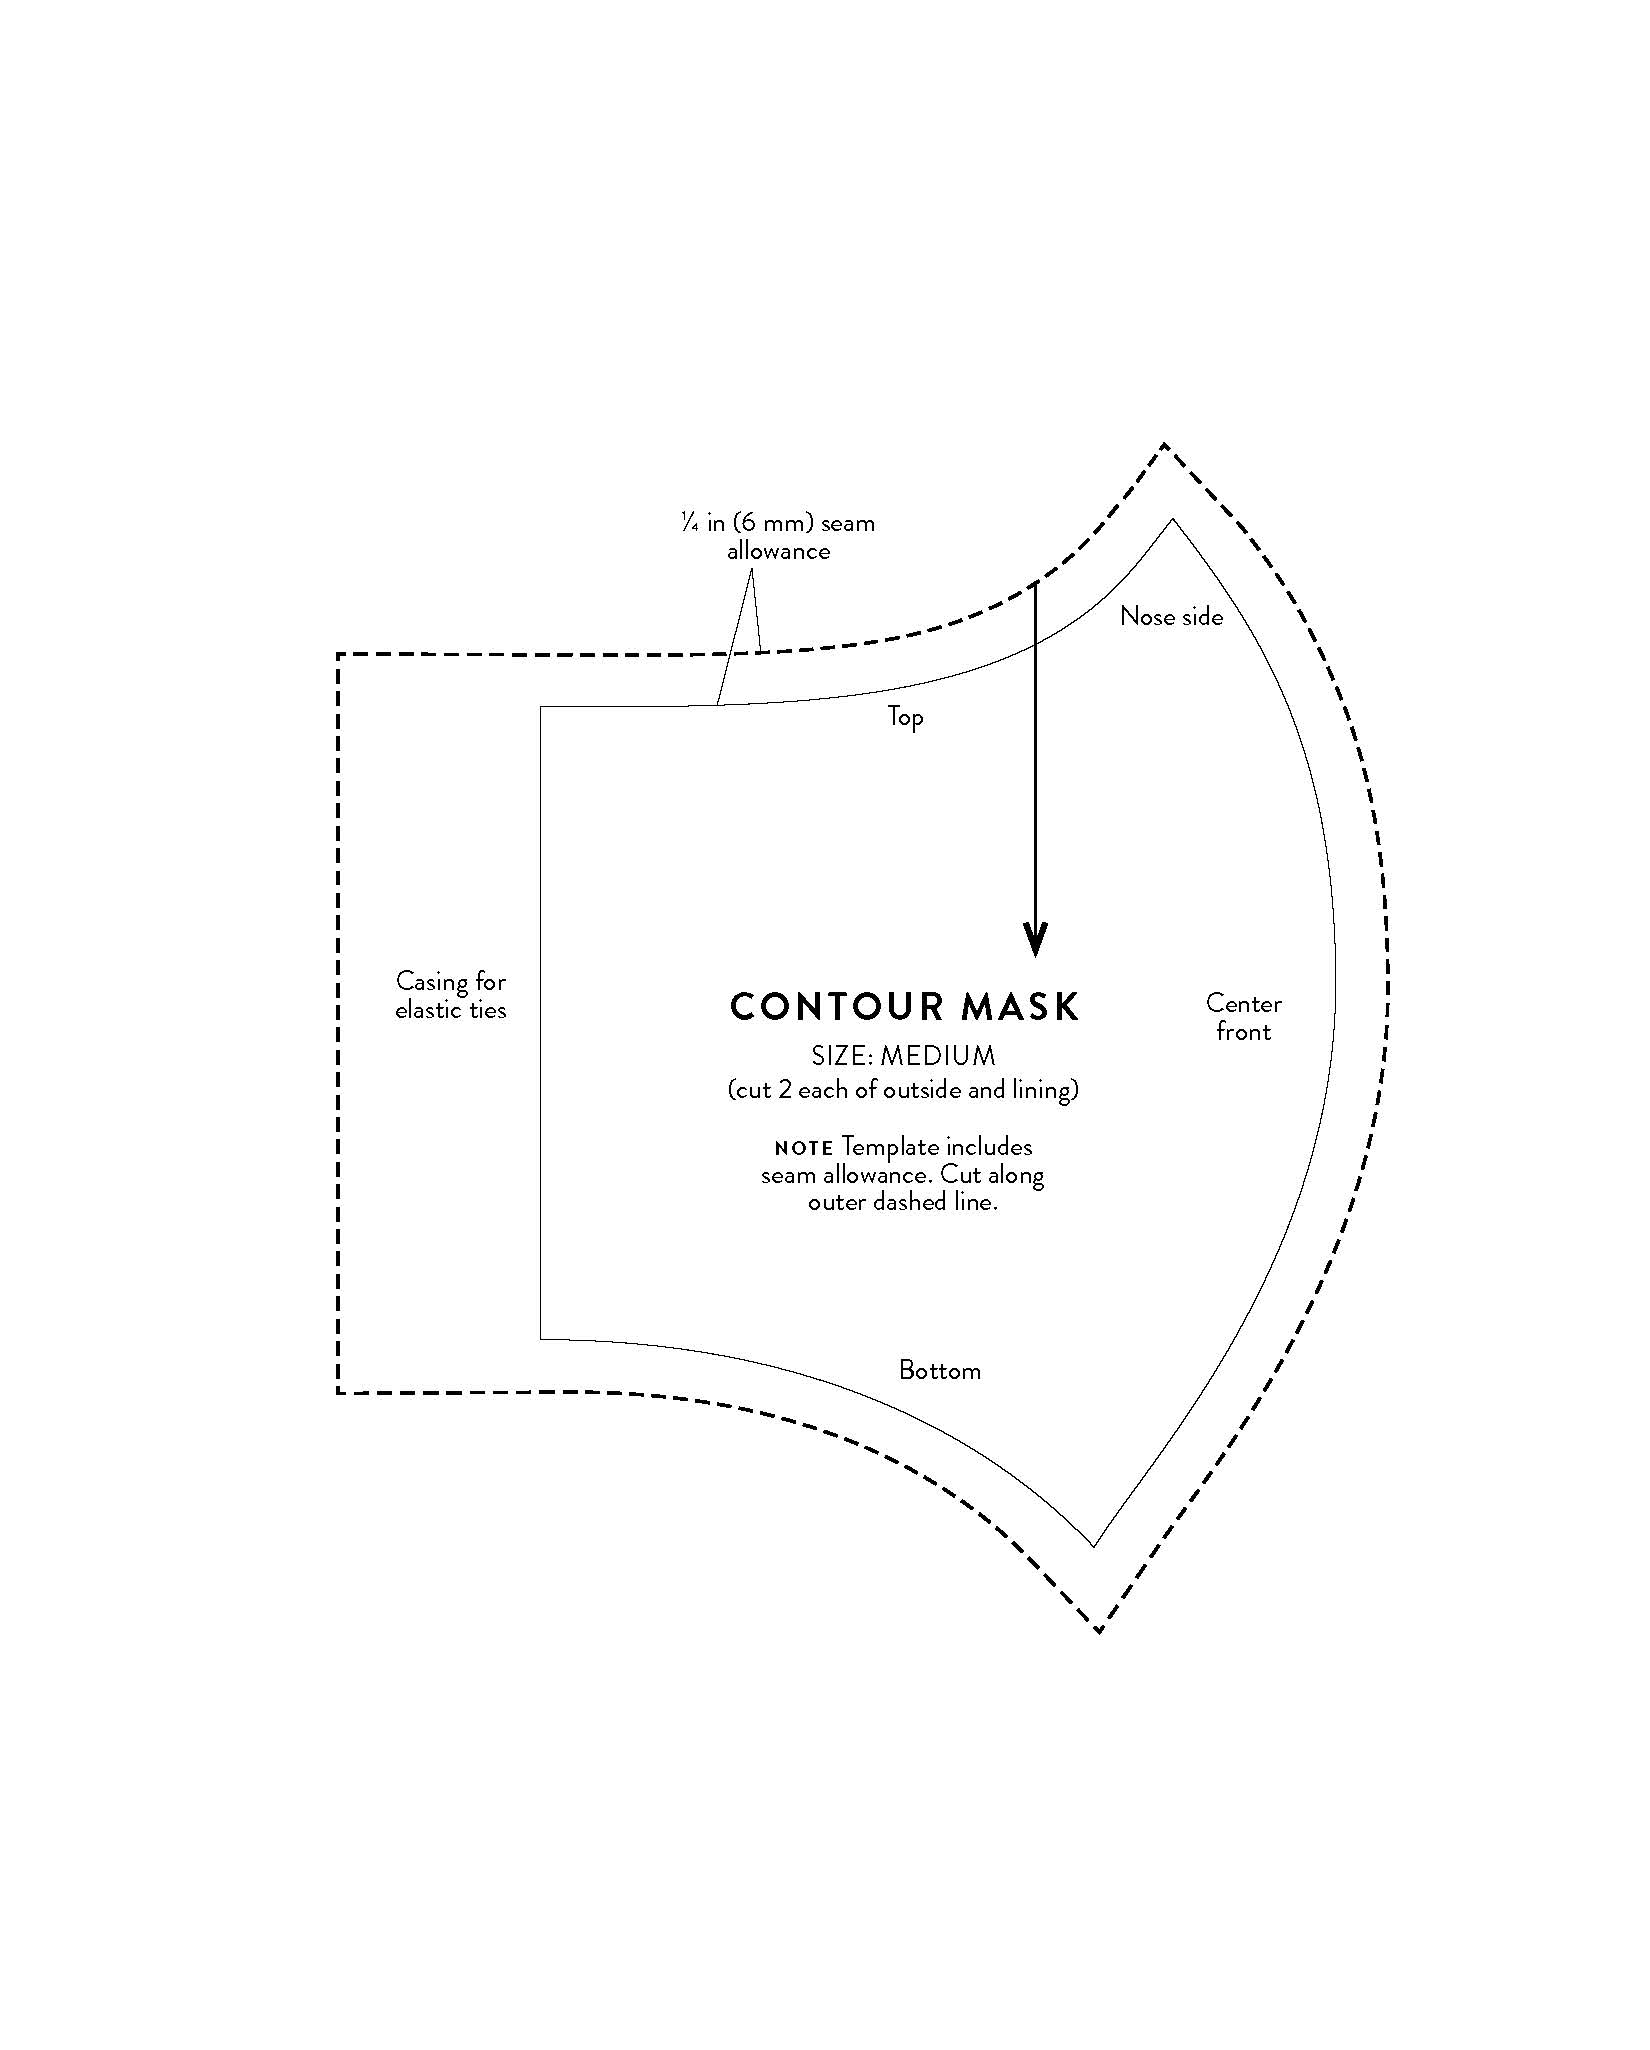
Use the template at the bottom of the extract to cut out two outsides and two linings. The templates include a seam allowance.
STEP 1: Align the two outside pieces with right sides together. Sew together along the curve using 1/4 in (6 mm) seam allowance. Repeat with the two lining pieces.
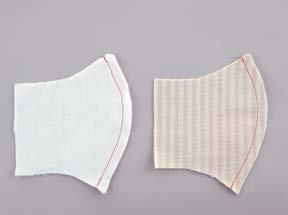
Left – Lining (wrong side) Right – Outside (wrong side)
STEP 2: Press the seam allowances open.

Left – Lining (wrong side) Right – Outside (wrong side)
STEP 3: Align the outside and lining with right sides together. Sew together along the top and bottom edges using 1/4 in (6 mm) seam allowance.
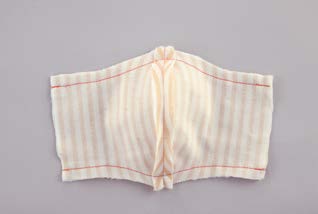
Outside (wrong side)
STEP 4: Make clips into the seam allowance along the curved section of the top and bottom. Make sure not to cut through the stitching.

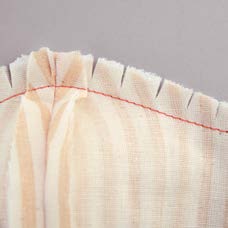
Clips cut into seam allowance and close-up view
STEP 5: Fold and press the top and bottom seam allowance toward the lining.
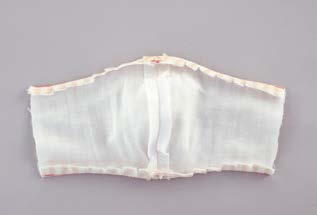
Lining (wrong side)
STEP 6: Turn right side out.
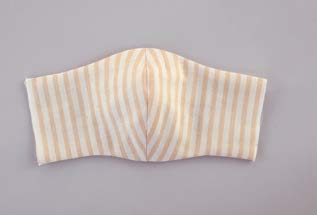
Outside (right side)
STEP 7: Topstitch the outside along the top and bottom, stitching as close to the edge as possible.
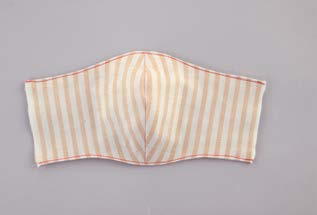
OPTIONAL NOSE WIRE
For a more customized fit, try using a piece of flat aluminum wire or a pipe cleaner along the nose area. If using the nose wire, topstitch 1/4 in (6 mm) from the top to create a channel. Insert a 31/2 in (9 cm) piece of wire into the channel.
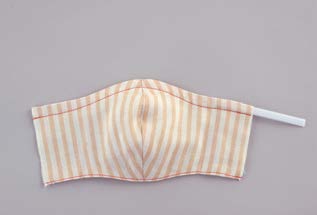
Insert a flat aluminium wire
STEP 8: Fold and press the left and right edges over 1/4 in (6 mm) toward the lining.
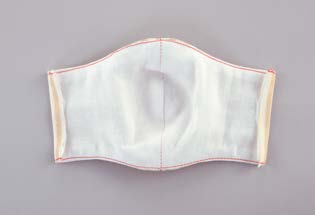
Lining (right side)
STEP 9: Next, fold and press these edges over 3/4 in (2 cm) toward the lining.
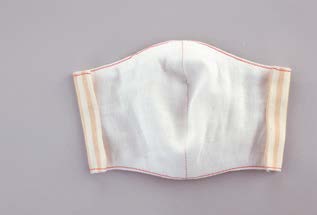
STEP 10: Topstitch the left and right edges, stitching as close to the edge as possible. This will create channels for the elastic.
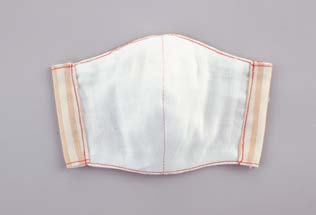
STEP 11: Cut the elastic in half. Insert pieces of elastic through the channels made in step 10.
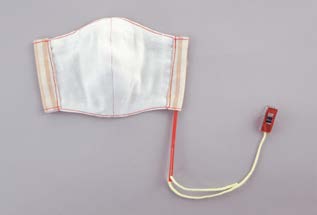
TIP: Use a drawstring threader or tapestry needle to insert the elastic through the channel. You can attach a binding clip to the end of the elastic to keep the entire piece from being pulled through the channel.
STEP 12: Tie the elastic into loops. Check the fit and adjust the size of the loops if necessary.
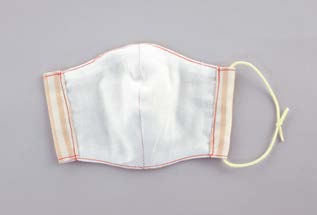
STEP 13: Adjust the elastic to hide the knots inside the channels and complete the mask.
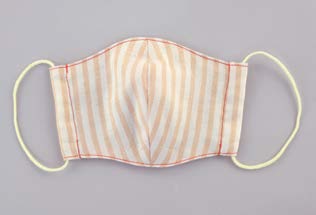
Personalize the design and incorporate your favourite fabrics or add special details, like appliqué or embroidery. You can even create a face mask to match your outfit!
Click the image below to download a pdf template for your mask.
For more mask inspiration, and a selection of handy templates in various sizes including elastic for 3 masks, pick up your copy of Easy Masks to Sew, RRP £10.99 from the Search Press website.
Show us your personalized masks on social media. Tag us @searchpress or use #SearchPressMakes, we'd love to see them!
Follow us on:


#SearchPressMakes